

Regular oil changes are essential for keeping your engine running smoothly and extending the life of your vehicle. Performing an oil change yourself can save money and ensure your car gets the care it needs. Here’s a step-by-step guide to changing your car’s oil.
What You’ll Need:
- New engine oil (check your owner’s manual for the correct type and amount)
- New oil filter
- Oil filter wrench
- Socket wrench
- Drain pan
- Funnel
- Gloves and rags
- Jack and jack stands (or ramps)
Step 1: Prepare Your Car
Park on a level surface, turn off the engine, and let it cool for a few minutes. Engage the parking brake for safety.
Step 2: Lift the Car
Use a jack to lift the front of your car and secure it with jack stands, or drive onto ramps if available. Never work under a car supported only by a jack.
Step 3: Drain the Old Oil
Place a drain pan under the oil pan and remove the drain plug using a socket wrench. Let the old oil drain completely, which can take a few minutes.
Step 4: Remove and Replace the Oil Filter
Use an oil filter wrench to remove the old oil filter. Some oil may still drip out, so keep the drain pan in place. Apply a thin layer of fresh oil to the gasket of the new filter before screwing it in by hand until snug.
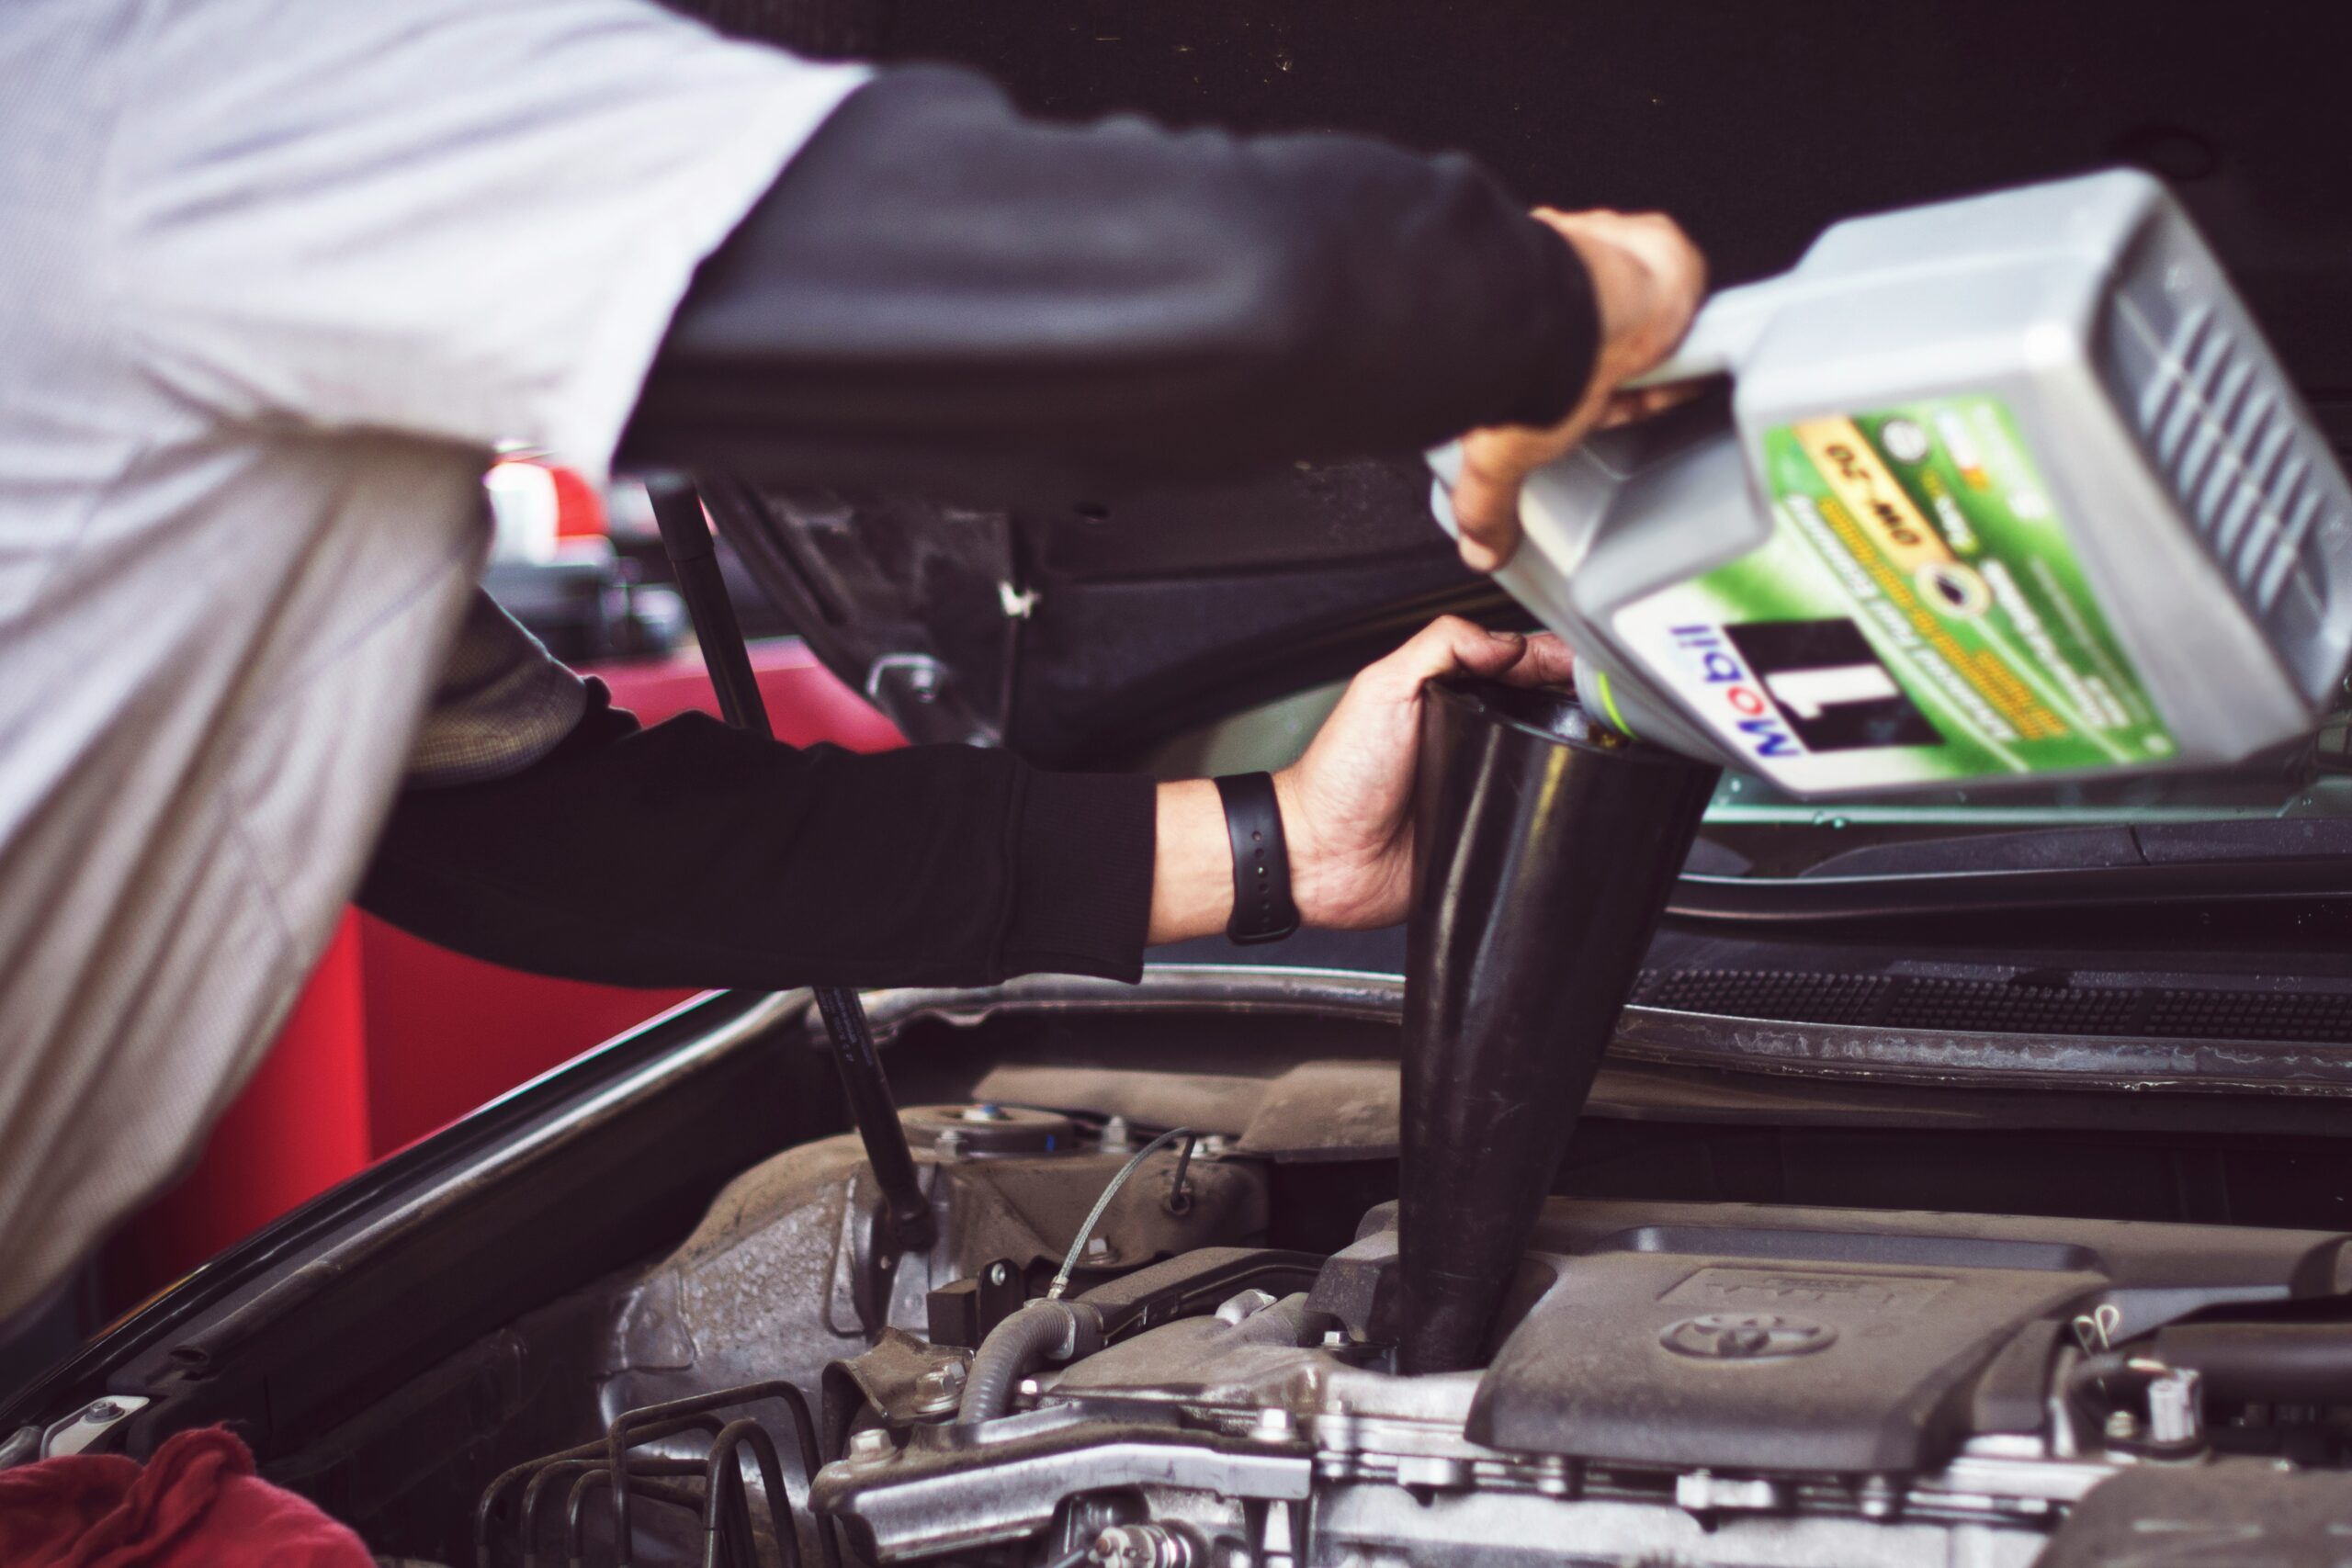
Step 5: Add New Oil
Replace the drain plug securely. Then, using a funnel, pour the new oil into the engine through the oil filler cap. Check the oil level with the dipstick and adjust if needed.
Step 6: Start the Engine and Check for Leaks
Start your car and let it run for a few minutes. Check for any leaks under the car. Turn off the engine and wait a few minutes before rechecking the oil level with the dipstick.
Step 7: Dispose of Old Oil Properly
Take the used oil and filter to a recycling center or auto parts store that accepts used motor oil.
Final Thoughts
Changing your car’s oil is a simple but important maintenance task that keeps your engine healthy. By following these steps, you can confidently perform an oil change and keep your vehicle in top condition.